Someday I'll do a lot of research on creativity, and share with you the results. For now, this post is just about me and my musings.
I doubt seriously that creativity is in our genes, because I'm the only creative person in my family. They used to say "we don't know where she came from." In other families, it's considered a gift. In mine – I was just weird.I have creativity in droves.
Anyway, one thing I've come to realize lately is that I'm especially creative when I'm happy. If everything is good and well balanced, you can bet I'm painting, making jewelry, writing, making music, or trying to do all of them at once.
You can also get creative by listening to good music, like Bach, Beethoven or Mozart. For some reason these composers wrote music that has the effect of making you really think. You think deeply, as you must any time you're going to create something. Plus, by actually listening to the music you're calming your mind and probably your body as well. The added relaxation is another good benefit for inducing creativity.
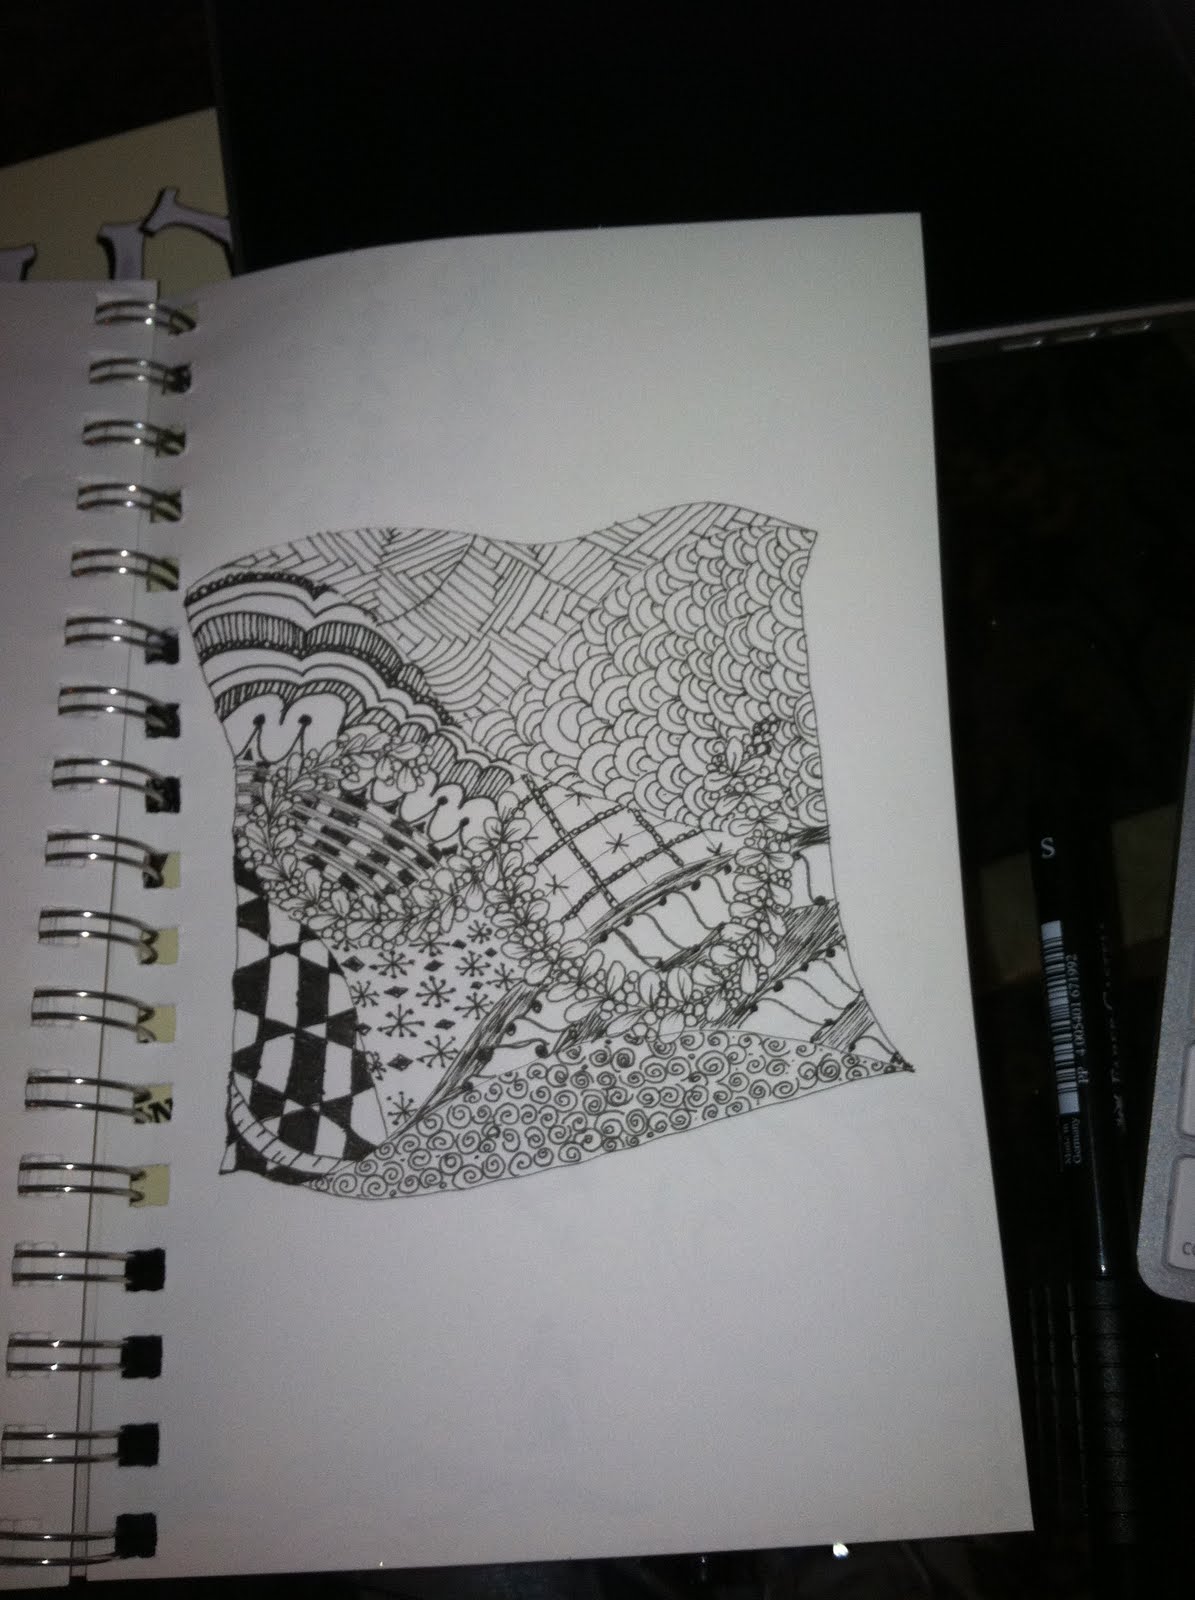
I keep a notebook with me all the time, and jot down ideas or make sketches, no matter where I am. you never know when you might see or hear something you want to save for later.
If I'm feeling stuck, I might pull up Google images and glance at some pictures of flowers or something else that I like. Or sometimes I just read through other blogs that I follow, most of which are craft, jewelry or writing related. Usually by the time I've done, I've got an idea of what I want to make next – even though it might have nothing to do with what I was looking at. It's like my brain simmers an idea on one side while I'm reading with the other.
So that's how I draw in my creativity; how do you do it?